So i'm having to re-do this so I can put the pictures in. For people who followed the original thread, thanks for coming back. Swear I'll actually update this thing more than once a month lol. The first page is going to just be copy and paste from the original thread. This does give me a chance to put the pictures in better than I had last time, so maybe you can actually see them.
I've snooped around here for a while, and I've finally taken the plunge into dendros. This build is going to be a long drawn out process. I'm starting from the ground up, so things are going to take a little longer than normal. I'm thinking I might finally have frogs in august or so... I'll leave that benchmark in writing and see how close I get.
I'm starting with a 75 gallon aquarium. I've had my fun with it, and I'm kinda over the fish in it. I'm turning it so the top (open side) faces the front. I'm going to make hinged front panels for access, drill the top for misting and fans, drill the bottom (the new bottom) for a drain access, and make things nice. BUT FIRST... I have to make a new stand. The old stand has seen better days, and the last time I filled the tank it had WAY too many creeks and pops for my tastes (my taste being that I don't wake up to it on the floor in pieces). Not to mention it wont fit anymore with the tank turned.
The stand will be more than strong enough to hold the tank completely full of water, so I'm very confident in this design. It's pretty basic, but it's very sturdy.
![Click the image to open in full size.]()
This is the base frame. The long boards are getting the most contact with the ground. The side boards are vertical so the legs have a better connection.
![Click the image to open in full size.]()
This one of the sides. Some people don't add the second brace in the middle of the legs, but I had the wood, so might as well.
![Click the image to open in full size.]()
Base frame with both sides.
![Click the image to open in full size.]()
I put the top railings on first to make sure the side legs are square and flush. Because the sides of the tank will rest on this part of the stand the whole top needs to be even.
![Click the image to open in full size.]()
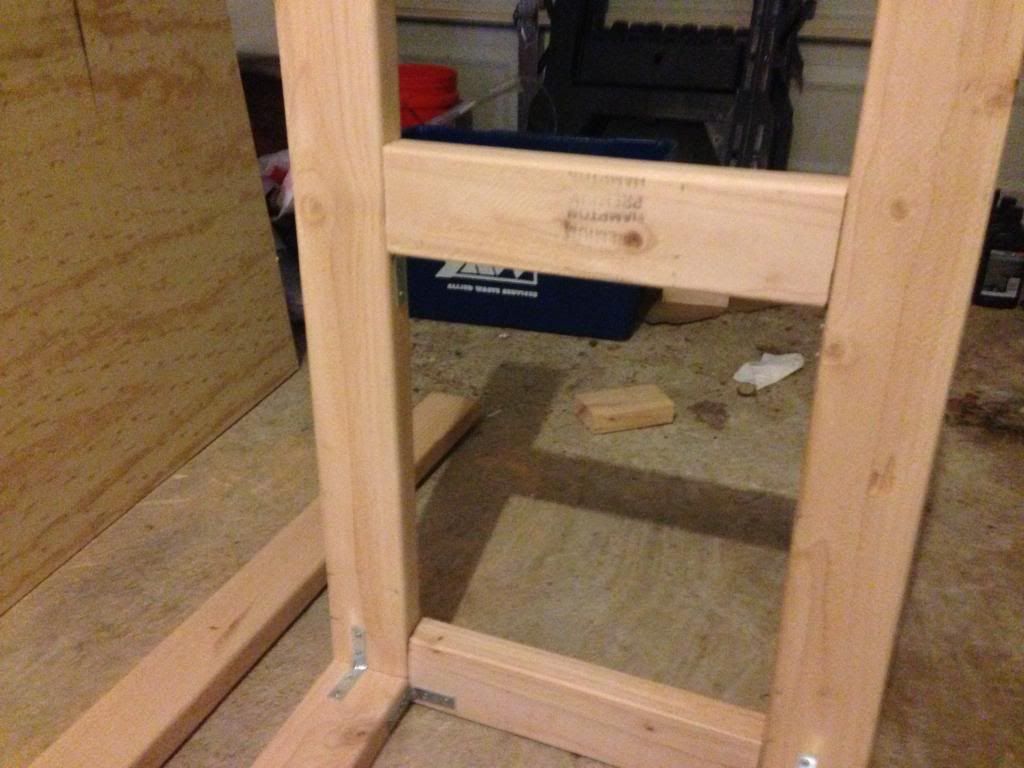
I used a combination of 3" deck screws and joining braces to secure the pieces.
![Click the image to open in full size.]()
First problem came later than I planned. When putting in the middle vertical legs, I cut one just a hair too long. That's when the dremel comes out! Easy fix.
![Click the image to open in full size.]()
Here's the frame finished. I have a piece of cabinet grade plywood that I will wrap around the front and 2 sides of the frame. I'm still debating between 1 door or 2. Then the whole thing gets a nice stain to look decent enough that the wife will let me keep it lol..
Total cost so far has been about $100. Not bad considering all I need is the stain.
I've snooped around here for a while, and I've finally taken the plunge into dendros. This build is going to be a long drawn out process. I'm starting from the ground up, so things are going to take a little longer than normal. I'm thinking I might finally have frogs in august or so... I'll leave that benchmark in writing and see how close I get.
I'm starting with a 75 gallon aquarium. I've had my fun with it, and I'm kinda over the fish in it. I'm turning it so the top (open side) faces the front. I'm going to make hinged front panels for access, drill the top for misting and fans, drill the bottom (the new bottom) for a drain access, and make things nice. BUT FIRST... I have to make a new stand. The old stand has seen better days, and the last time I filled the tank it had WAY too many creeks and pops for my tastes (my taste being that I don't wake up to it on the floor in pieces). Not to mention it wont fit anymore with the tank turned.
The stand will be more than strong enough to hold the tank completely full of water, so I'm very confident in this design. It's pretty basic, but it's very sturdy.
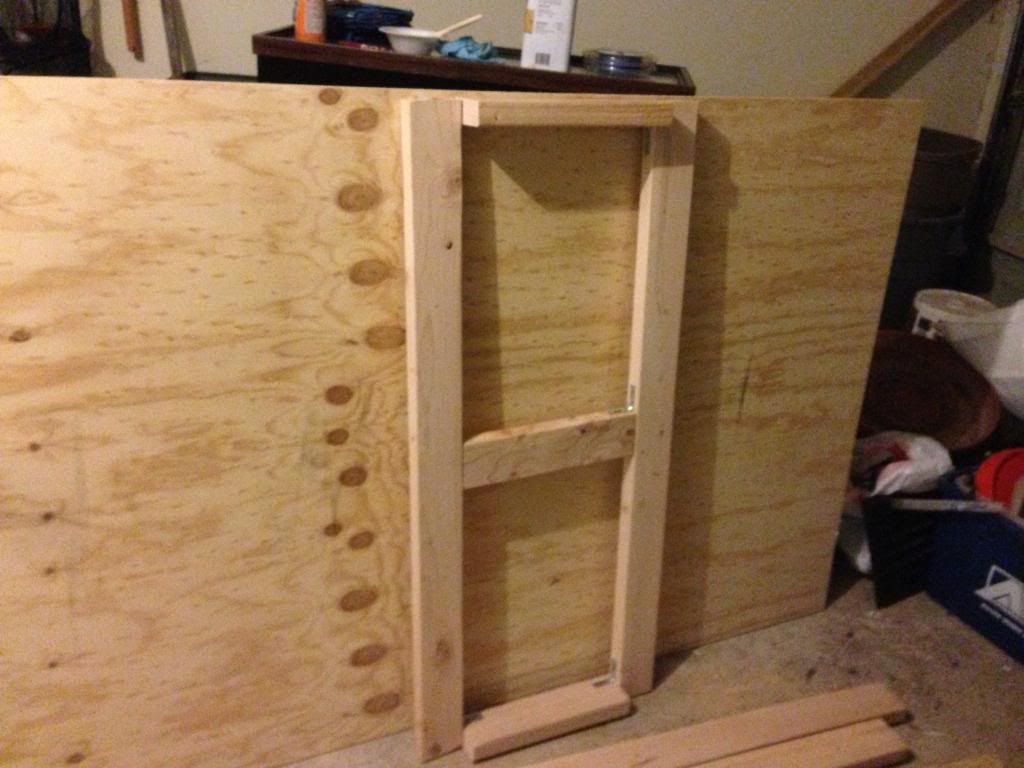
This is the base frame. The long boards are getting the most contact with the ground. The side boards are vertical so the legs have a better connection.
This one of the sides. Some people don't add the second brace in the middle of the legs, but I had the wood, so might as well.
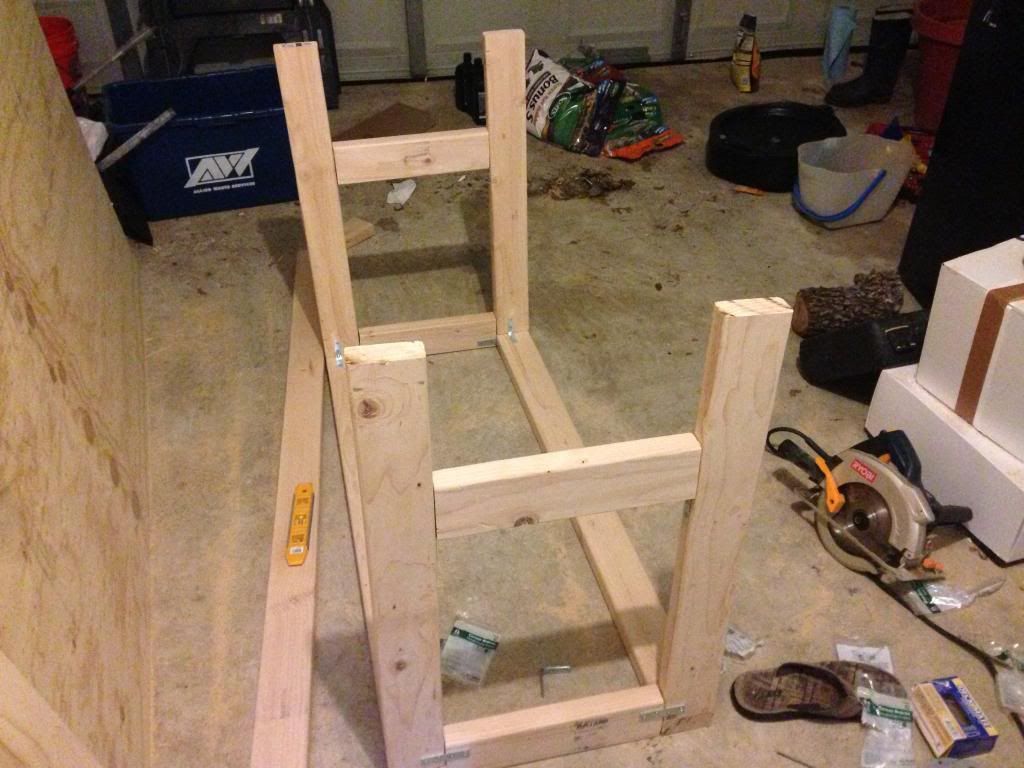
Base frame with both sides.
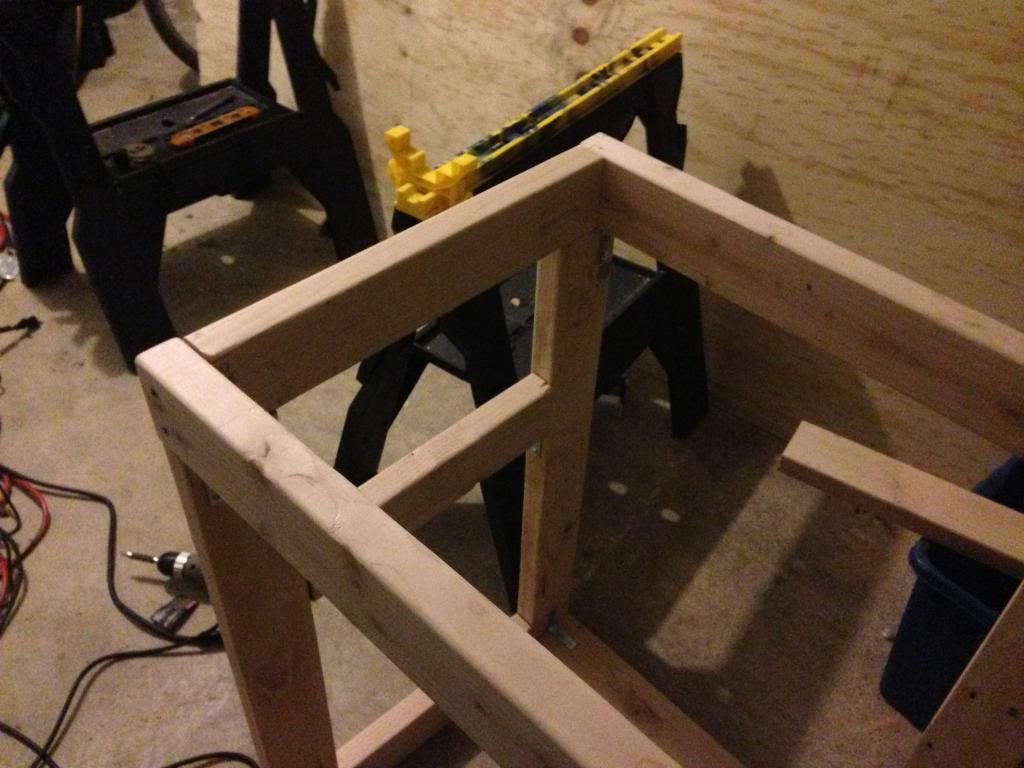
I put the top railings on first to make sure the side legs are square and flush. Because the sides of the tank will rest on this part of the stand the whole top needs to be even.
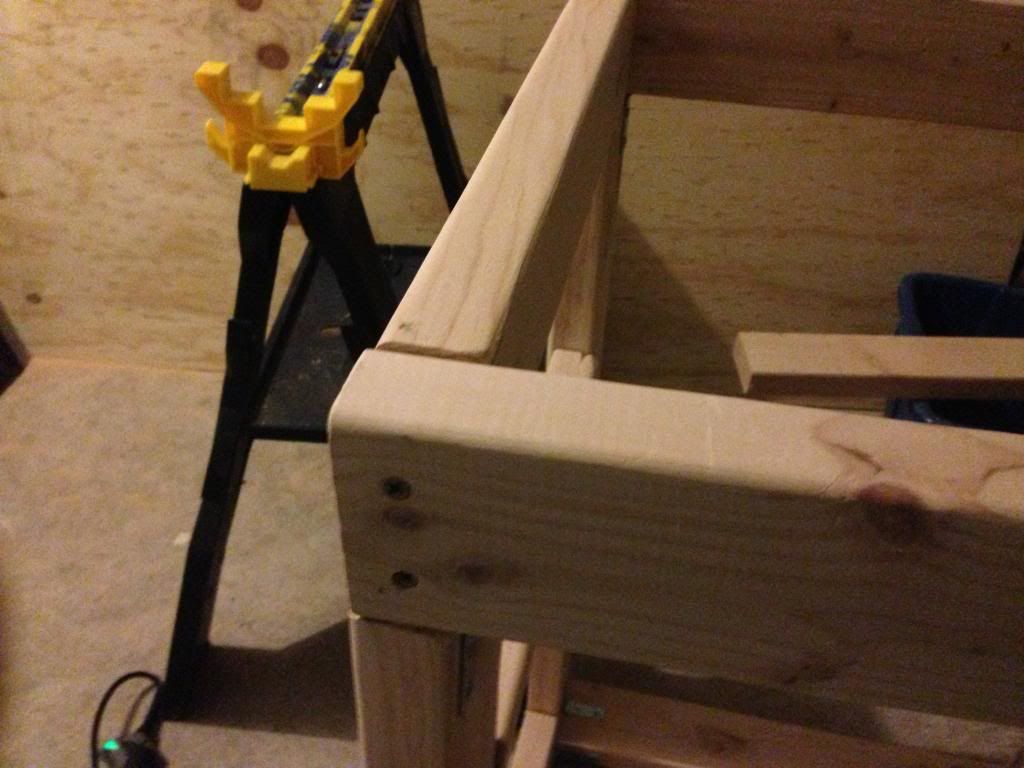
I used a combination of 3" deck screws and joining braces to secure the pieces.
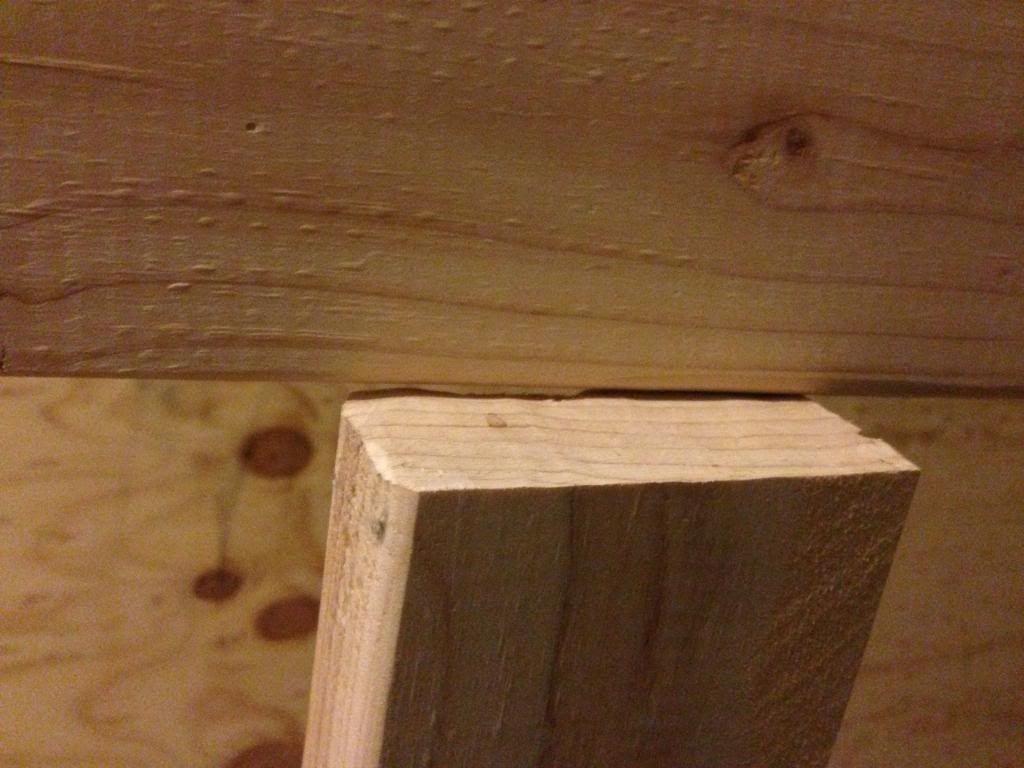
First problem came later than I planned. When putting in the middle vertical legs, I cut one just a hair too long. That's when the dremel comes out! Easy fix.
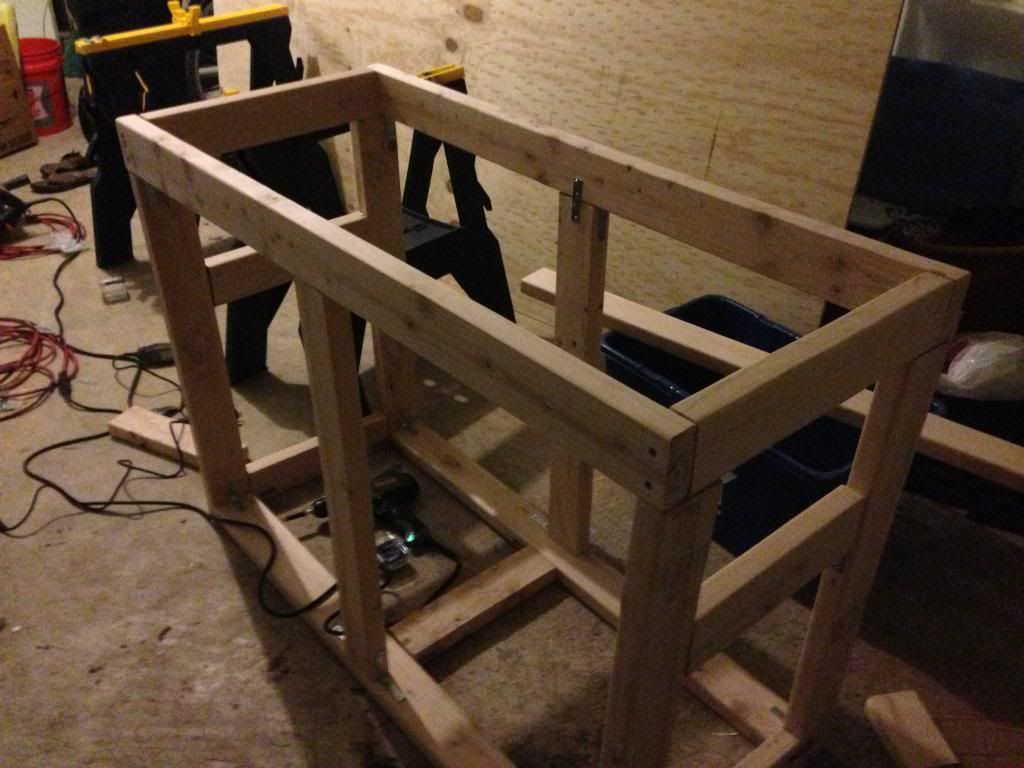
Here's the frame finished. I have a piece of cabinet grade plywood that I will wrap around the front and 2 sides of the frame. I'm still debating between 1 door or 2. Then the whole thing gets a nice stain to look decent enough that the wife will let me keep it lol..
Total cost so far has been about $100. Not bad considering all I need is the stain.